

Self-Tan for Beginners: Everything You Need
Thinking of trying self-tan but not sure where to start? This beginner's guide is your go-to for achieving a beautiful, natural-looking glow without any streaks or orange mishaps. We'll cover all the essentials!
Hello gorgeous glow-getters! Jessie-Lee here, your trusty Salon Manager and Tanning Expert at MEGATAN. Are you ready to dip your toes (literally!) into the wonderful world of self-tanning? Perhaps you've admired a friend's flawless glow or are just fed up with the unpredictable British weather letting down your tan plans. Whatever your reason, you've landed in the right place! This guide is specifically designed for self tan beginners, covering everything you need to know for your first fake tan experience. Let's banish those fears of streaks and orange hands, and get you glowing like a pro!
Why Choose Self-Tan?
Before we dive into the 'how-to', let's quickly chat about why self-tanning is such a fantastic choice. First and foremost, it's a completely safe way to get a tan, without any UV exposure. This means no sun damage, no premature ageing, and a reduced risk of skin cancer – hooray for healthy skin! Plus, with self-tan, you're in control. You can build up your desired shade, touch up whenever you like, and enjoy a gorgeous glow all year round, regardless of the weather outside. It's truly a game-changer for achieving that sun-kissed look.
The Absolute Essentials: What You'll Need
Think of this as your self-tan starter kit. Having these items on hand will make your first fake tan journey smooth, easy, and successful. Don't worry, you probably have most of these already!
- Exfoliator: Essential for a smooth canvas. Look for an oil-free scrub or an exfoliating mitt.
- Moisturiser: A good, oil-free moisturiser is key for hydrating dry areas and blending.
- Self-Tan Product: The star of the show! For beginners, a mousse or lotion with a guide colour is often easiest.
- Tanning Mitt: Your best friend for streak-free application and protecting your hands.
- Old Clothes/Pyjamas: To wear after application, preventing product transfer to your good clothes.
- Hair Tie/Headband: To keep hair off your face and neck.
- Cotton Pads/Wipes: For quick clean-ups of tricky areas like nails or eyebrows.
Step-by-Step: Your First Fake Tan Application
Alright, let's get down to business! Follow these steps for a beautiful, natural-looking tan.
Step 1: Prep, Prep, Prep! (The Day Before)
This is arguably the most crucial step for a flawless tan. Seriously, don't skip it! A smooth, hydrated base is the secret to an even, long-lasting glow.
- Exfoliate Thoroughly: 24 hours before you plan to tan, jump in the shower and exfoliate your entire body. Pay extra attention to dry areas like elbows, knees, ankles, and feet. This removes dead skin cells, ensuring an even application and preventing patchiness. Use an oil-free exfoliator or an exfoliating mitt.
- Shave/Wax: If you shave or wax, do this at least 24 hours before tanning to give your pores time to close. Tanning over open pores can lead to tiny tan dots.
- Moisturise: After exfoliating, apply a generous amount of oil-free moisturiser all over your body. This helps keep your skin hydrated and acts as a barrier in very dry areas.
Step 2: The Application (The Day Of)
On the day of your tan, take a quick, cool shower if needed, but avoid hot showers or applying any lotions, deodorants, or perfumes. Your skin should be clean and dry.
- Lightly Moisturise Dry Areas: About 15-20 minutes before applying your tan, put a tiny amount of oil-free moisturiser on your elbows, knees, hands, feet, and any other particularly dry patches. This creates a barrier, preventing these areas from absorbing too much tan and going too dark.
- Gloves On: Pop on your tanning mitt. This protects your hands from staining and helps you distribute the product evenly.
- Start from the Bottom Up: Dispense a small amount of self-tan onto your mitt. Starting with your legs, apply the product in long, sweeping motions. Work your way up your body, doing one section at a time (e.g., lower leg, upper leg, stomach, chest, back, arms).
- Blend, Blend, Blend: Use circular motions to ensure the product is evenly distributed and blended. If your product has a guide colour, you'll be able to see where you've applied it and where you need to blend more.
- Tricky Areas - Hands & Feet: For hands and feet, use whatever residual product is left on your mitt, or apply a tiny, tiny dot of fresh product. Lightly sweep it over the tops of your hands and feet, blending carefully around knuckles, between fingers/toes, and around your wrists/ankles. Use a cotton pad with a tiny bit of moisturiser to wipe your nails and cuticles clean.
- Face: For your face, you can use a dedicated facial self-tanner or mix a tiny bit of your body self-tan with your regular moisturiser. Apply sparingly, blending into your hairline and down your neck.
- Back: If you live alone, a back applicator can be a lifesaver! Otherwise, ask a kind friend or family member for help. Alternatively, you can try extending your mitt with a wooden spoon or a coat hanger (be creative!).
Step 3: The Waiting Game & Aftercare
You've applied it! Now for the easy part (mostly!).
- Let It Dry: Allow your self-tan to dry completely before getting dressed. This can take anywhere from 10-30 minutes, depending on the product. Stand in front of a fan or use a hairdryer on a cool setting to speed things up.
- Wear Loose Clothing: Once dry, put on loose, dark clothing or old pyjamas. Avoid anything tight that could rub the tan off.
- Develop Time: Check the instructions on your self-tan product for the recommended development time (usually 6-8 hours). Avoid showering, sweating, or getting wet during this period.
- Rinse Off: When the development time is up, take a lukewarm shower. Don't use harsh soaps or scrubs. Just let the water run over your skin until the guide colour washes away. Pat your skin dry gently.
- Moisturise Daily: To prolong your tan and ensure it fades evenly, moisturise your skin daily. This is key to maintaining that beautiful glow.
Jessie-Lee's Top Tips for Self Tan Beginners
- Start Light: If it's your first time, opt for a light-to-medium shade. You can always build up the colour with another application.
- Patch Test: Always do a patch test 24 hours before full application to check for any allergic reactions.
- Small Sections: Work in small sections to ensure even coverage and avoid missing spots.
- Use a Mirror: A full-length mirror is your best friend for seeing what you're doing, especially on your back.
- Don't Rush: Give yourself plenty of time. Tanning isn't something to do in a hurry.
- Clean Up Immediately: If you get tan on your nails, palms, or anywhere it shouldn't be, wipe it off immediately with a damp cloth or cotton pad.
- Maintain: To keep your tan looking fresh, exfoliate gently every 2-3 days and reapply a light layer of tan as needed.
MEGATAN Product Picks for Your First Fake Tan
Ready to get started? Here are some fantastic products from MEGATAN that are perfect for beginners:
And there you have it, future tanning gurus! Your comprehensive guide to achieving a beautiful, streak-free, and natural-looking self-tan. Remember, practice makes perfect, so don't be disheartened if your first attempt isn't absolutely flawless. You'll get the hang of it in no time!
Happy tanning, and if you have any questions, don't hesitate to reach out to the MEGATAN team. We're always here to help you glow!
Written by
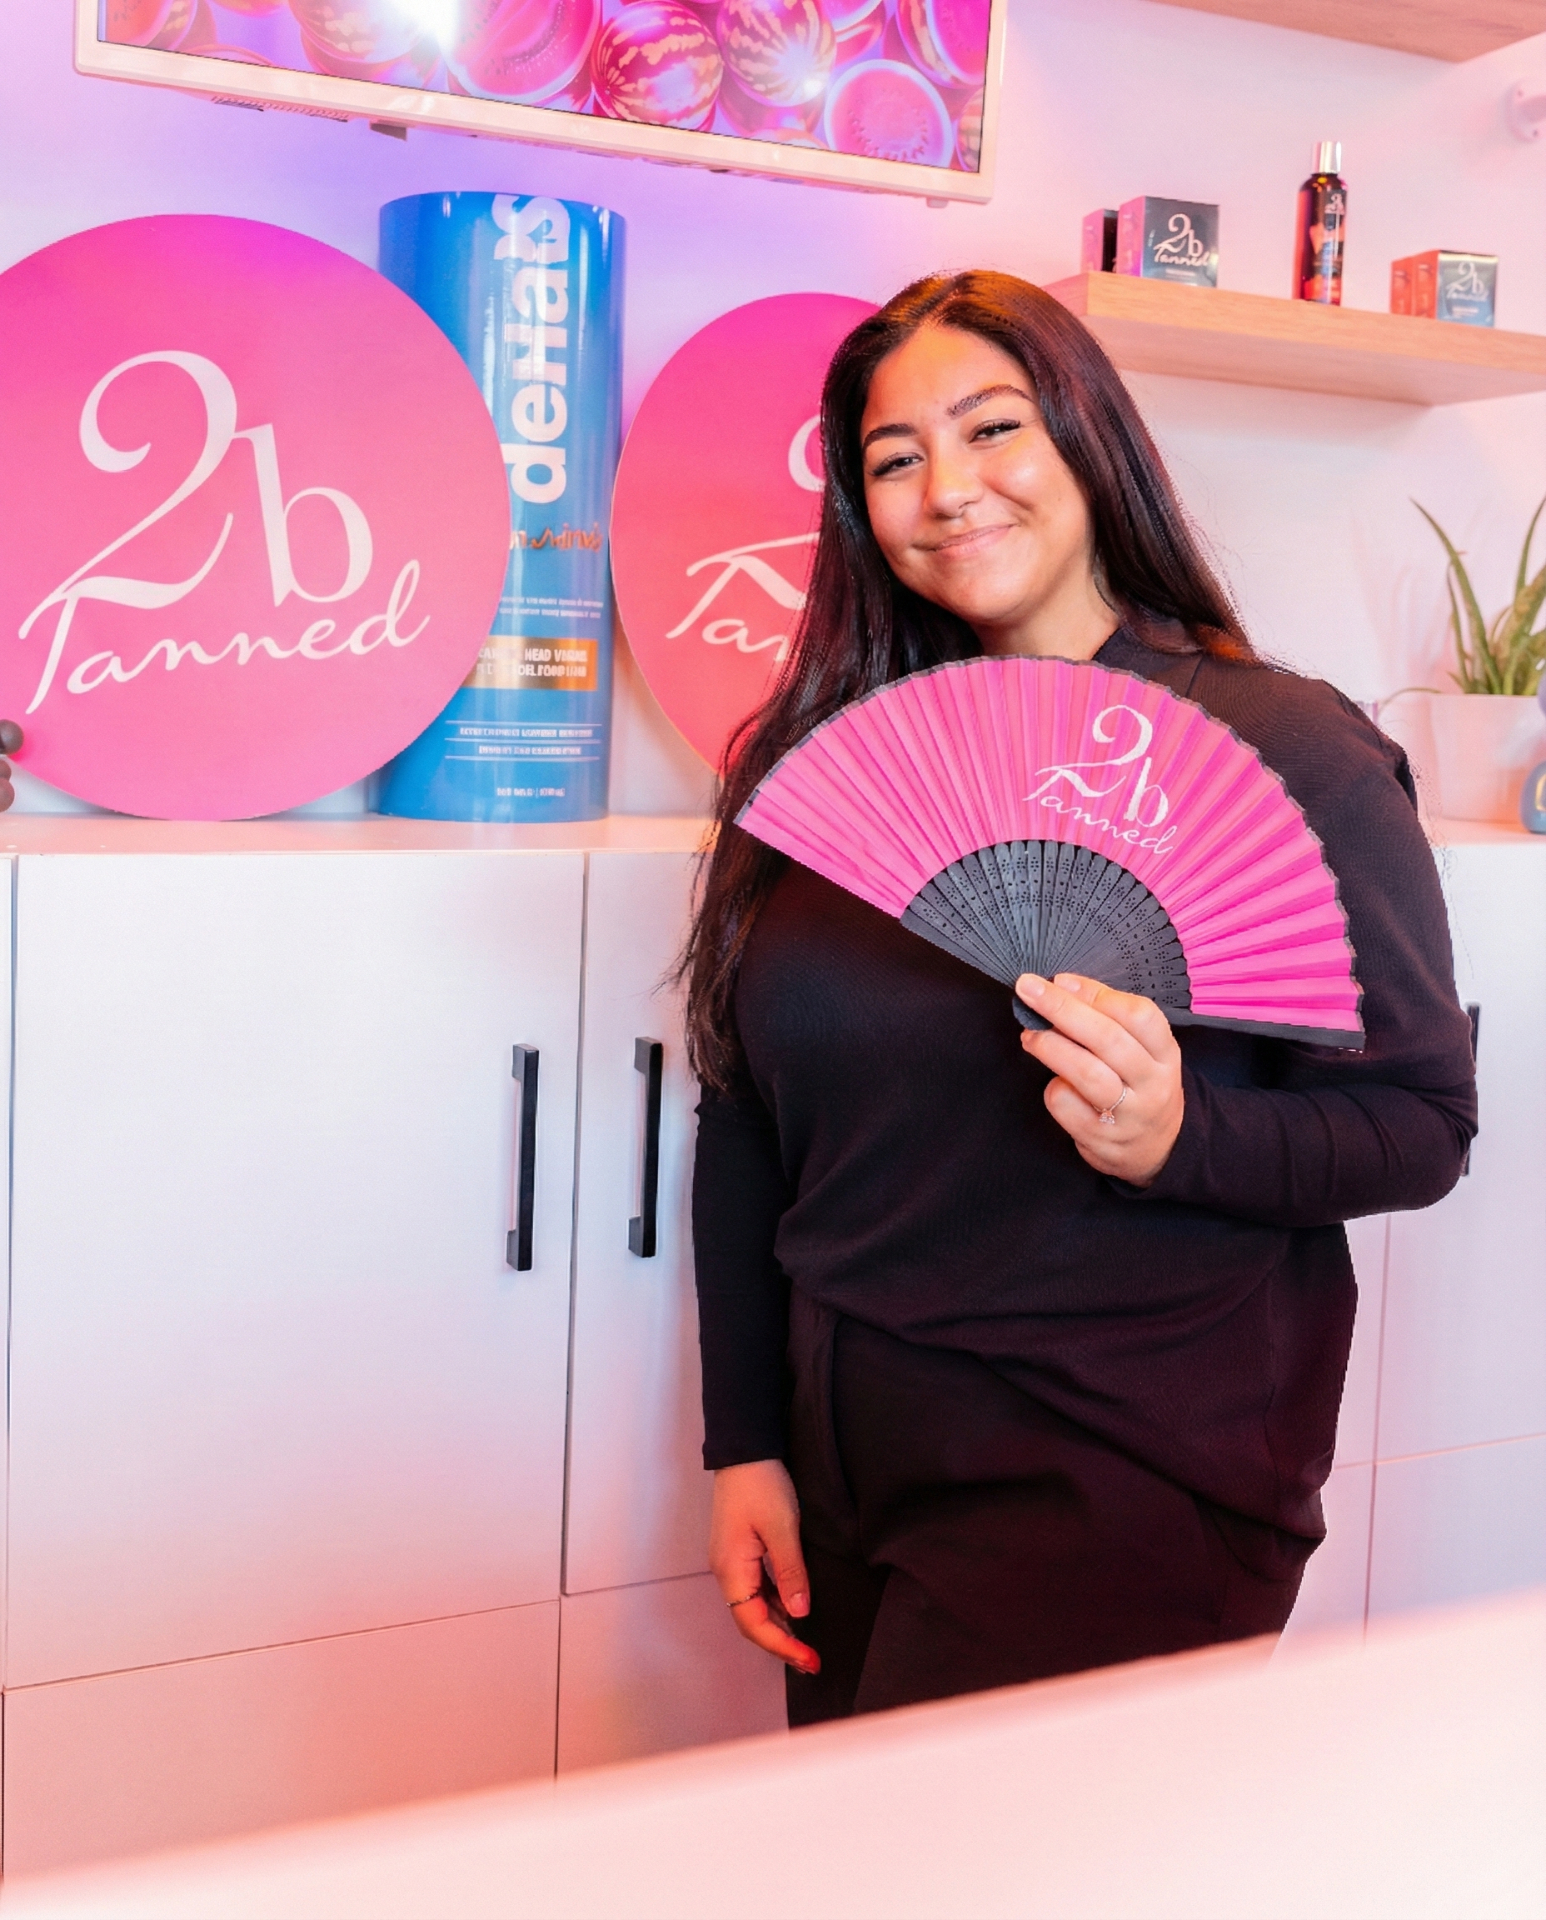
Jessie-Lee KingSalon Manager & Tanning Expert
Jessie-Lee is the Salon Manager at MEGATAN Studio Birmingham with over 8 years of experience in professional tanning. She specialises in helping clients find the perfect tanning routine, from selecting the right lotions to building safe, effective sunbed regimens. Jessie-Lee has trained with leading brands including Australian Gold, Devoted Creations, and Rapid Tan.