

How to Fix Patchy Self-Tan: Quick Fixes
We've all been there – that sinking feeling when your gorgeous self-tan turns a bit... patchy. But don't worry, my lovely tanners, help is at hand!
Hello sunshine seekers! Jessie-Lee here, your trusty tanning expert and Salon Manager at MEGATAN. Today, we're tackling a topic that sends shivers down the spine of even the most seasoned self-tanners: patchy tan. You know the drill – you've carefully applied your favourite self-tan, dreamed of that perfect, even glow, only to wake up to streaks, dark patches, and an overall look that's less 'bronzed goddess' and more 'dalmatian dog'. Sound familiar? Don't fret! It happens to the best of us, and the good news is, it's usually fixable. In this blog, I'm going to walk you through some quick, effective fixes to banish those streaks and get your tan looking flawless again. Let's dive in!
Why Does Self-Tan Go Patchy in the First Place?
Before we get to the fixes, it's helpful to understand the culprits behind patchy tan. Knowledge is power, after all! The main reasons usually boil down to:
- Poor preparation: Not exfoliating or moisturising properly before tanning.
- Dry skin: Self-tan loves to cling to dry areas like elbows, knees, ankles, and hands, making them darker.
- Uneven application: Missing spots or applying too much product in one area.
- Old tan: Applying new tan over old, fading tan can cause a build-up.
- Sweat or water: Getting wet too soon after application can cause streaks.
Understanding these helps you prevent future tan-tastrophes, but for now, let's focus on crisis management!
Emergency Fixes for Fresh Streaks (Within 1-2 Hours)
Caught a streak or dark patch soon after applying? You might still have a window to correct it without starting from scratch.
- Lemon Juice & Bicarbonate of Soda Paste: Mix a tablespoon of bicarbonate of soda with enough lemon juice to form a paste. Gently apply to the dark area, leave for 5-10 minutes, then rinse. The acidity of the lemon and the mild abrasive nature of the bicarb can help lift the colour.
- Tanning Eraser/Remover: If you have a dedicated tan eraser on hand, now's the time to use it! These are specifically designed to break down the DHA (dihydroxyacetone) in self-tan, making it easier to remove. Follow the product instructions carefully.
- Baby Wipes/Damp Cloth: For very fresh, light streaks, a quick wipe with a baby wipe or a damp cloth can sometimes buff away excess product before it fully develops.
Solving Developed Patchiness: Your Go-To Solutions
If your tan has fully developed and you're staring at a mosaic of bronzed and not-so-bronzed patches, don't despair! Here are my top tips for evening things out.
1. Exfoliate, Exfoliate, Exfoliate!
This is your number one weapon against patchy tan. Gentle exfoliation helps to slough off the darker, built-up areas and smooth out the skin's surface. Opt for a chemical exfoliator (like an AHA body lotion) or a physical one (a scrub or exfoliating mitt). Focus on the darker areas, using circular motions. Be gentle – you don't want to irritate your skin!
- Exfoliating Mitt: Apply a small amount of body wash to a damp exfoliating mitt and gently buff the affected areas.
- Body Scrub: A good quality body scrub can work wonders. Look for one with fine grains to avoid harshness.
2. The Power of a Hot Bath/Shower
Soaking in a warm bath for 15-20 minutes can help loosen dead skin cells and soften the tan, making it easier to remove. Add some bath oil to help hydrate your skin, then gently scrub with an exfoliating mitt or washcloth afterwards. For showers, let the warm water run over the patchy areas for a few minutes before exfoliating.
3. Lemon Juice & Olive Oil Mix
This is a fantastic natural remedy. The acidic lemon juice helps to gently break down the tan, while the olive oil nourishes and softens your skin. Mix equal parts lemon juice and olive oil, apply to the patchy areas, leave for 10-15 minutes, then rinse and gently exfoliate. Always do a patch test first to ensure no irritation!
4. Moisturise, Moisturise, Moisturise!
Sometimes, patchy tan is simply due to extreme dryness. Liberally apply a rich, hydrating moisturiser to the patchy areas. This can sometimes help to blend the colour slightly and make the unevenness less noticeable. Plus, it's crucial for maintaining any remaining tan and preparing your skin for future applications.
5. Top Up or Blend with a Gradual Tanner
If you've managed to reduce the darkness of the patches but now have lighter areas, a gradual tanning lotion can be your best friend. Apply a small amount to the lighter patches and blend carefully, building up the colour slowly over a day or two until it matches the rest of your tan. This is a subtle way to even things out without risking more streaks.
6. Conceal with Makeup (Temporary Fix)
For those stubborn, small patches that just won't budge, or if you need an immediate fix for an outing, body makeup or a tinted moisturiser can work wonders. Choose a shade that matches your current tan and blend carefully. This is a temporary solution, but it can save the day!
7. When to Start Fresh
Sometimes, despite your best efforts, the tan is just too far gone. In these cases, the best approach is to fully remove the old tan and start fresh. This means a full-body exfoliation, a good soak, and using a tan remover if necessary. Think of it as a clean slate for a perfect new glow!
Preventing Future Patchy Tans: The Golden Rules
To avoid this whole palaver in the future, remember these key steps:
- Exfoliate 24 hours before: Remove all dead skin cells and old tan.
- Moisturise dry areas: Pay extra attention to elbows, knees, hands, and feet before tanning.
- Use a tanning mitt: Ensures even application and protects your palms.
- Apply in sections: Work methodically to avoid missing spots.
- Less is more on tricky areas: Use residual product on hands and feet.
- Allow to dry fully: Patience is a virtue!
- Maintain with moisturiser: Hydrated skin holds a tan better and fades more evenly.
And there you have it, my tanning enthusiasts! Patchy tan is a minor setback, not a disaster. With these quick fixes and a bit of patience, you'll be back to glowing flawlessly in no time. Remember, practice makes perfect, and even the pros have the occasional tanning mishap. Stay bronzed and beautiful!
Happy Tanning,
Jessie-Lee King
Salon Manager & Tanning Expert, MEGATAN
Written by
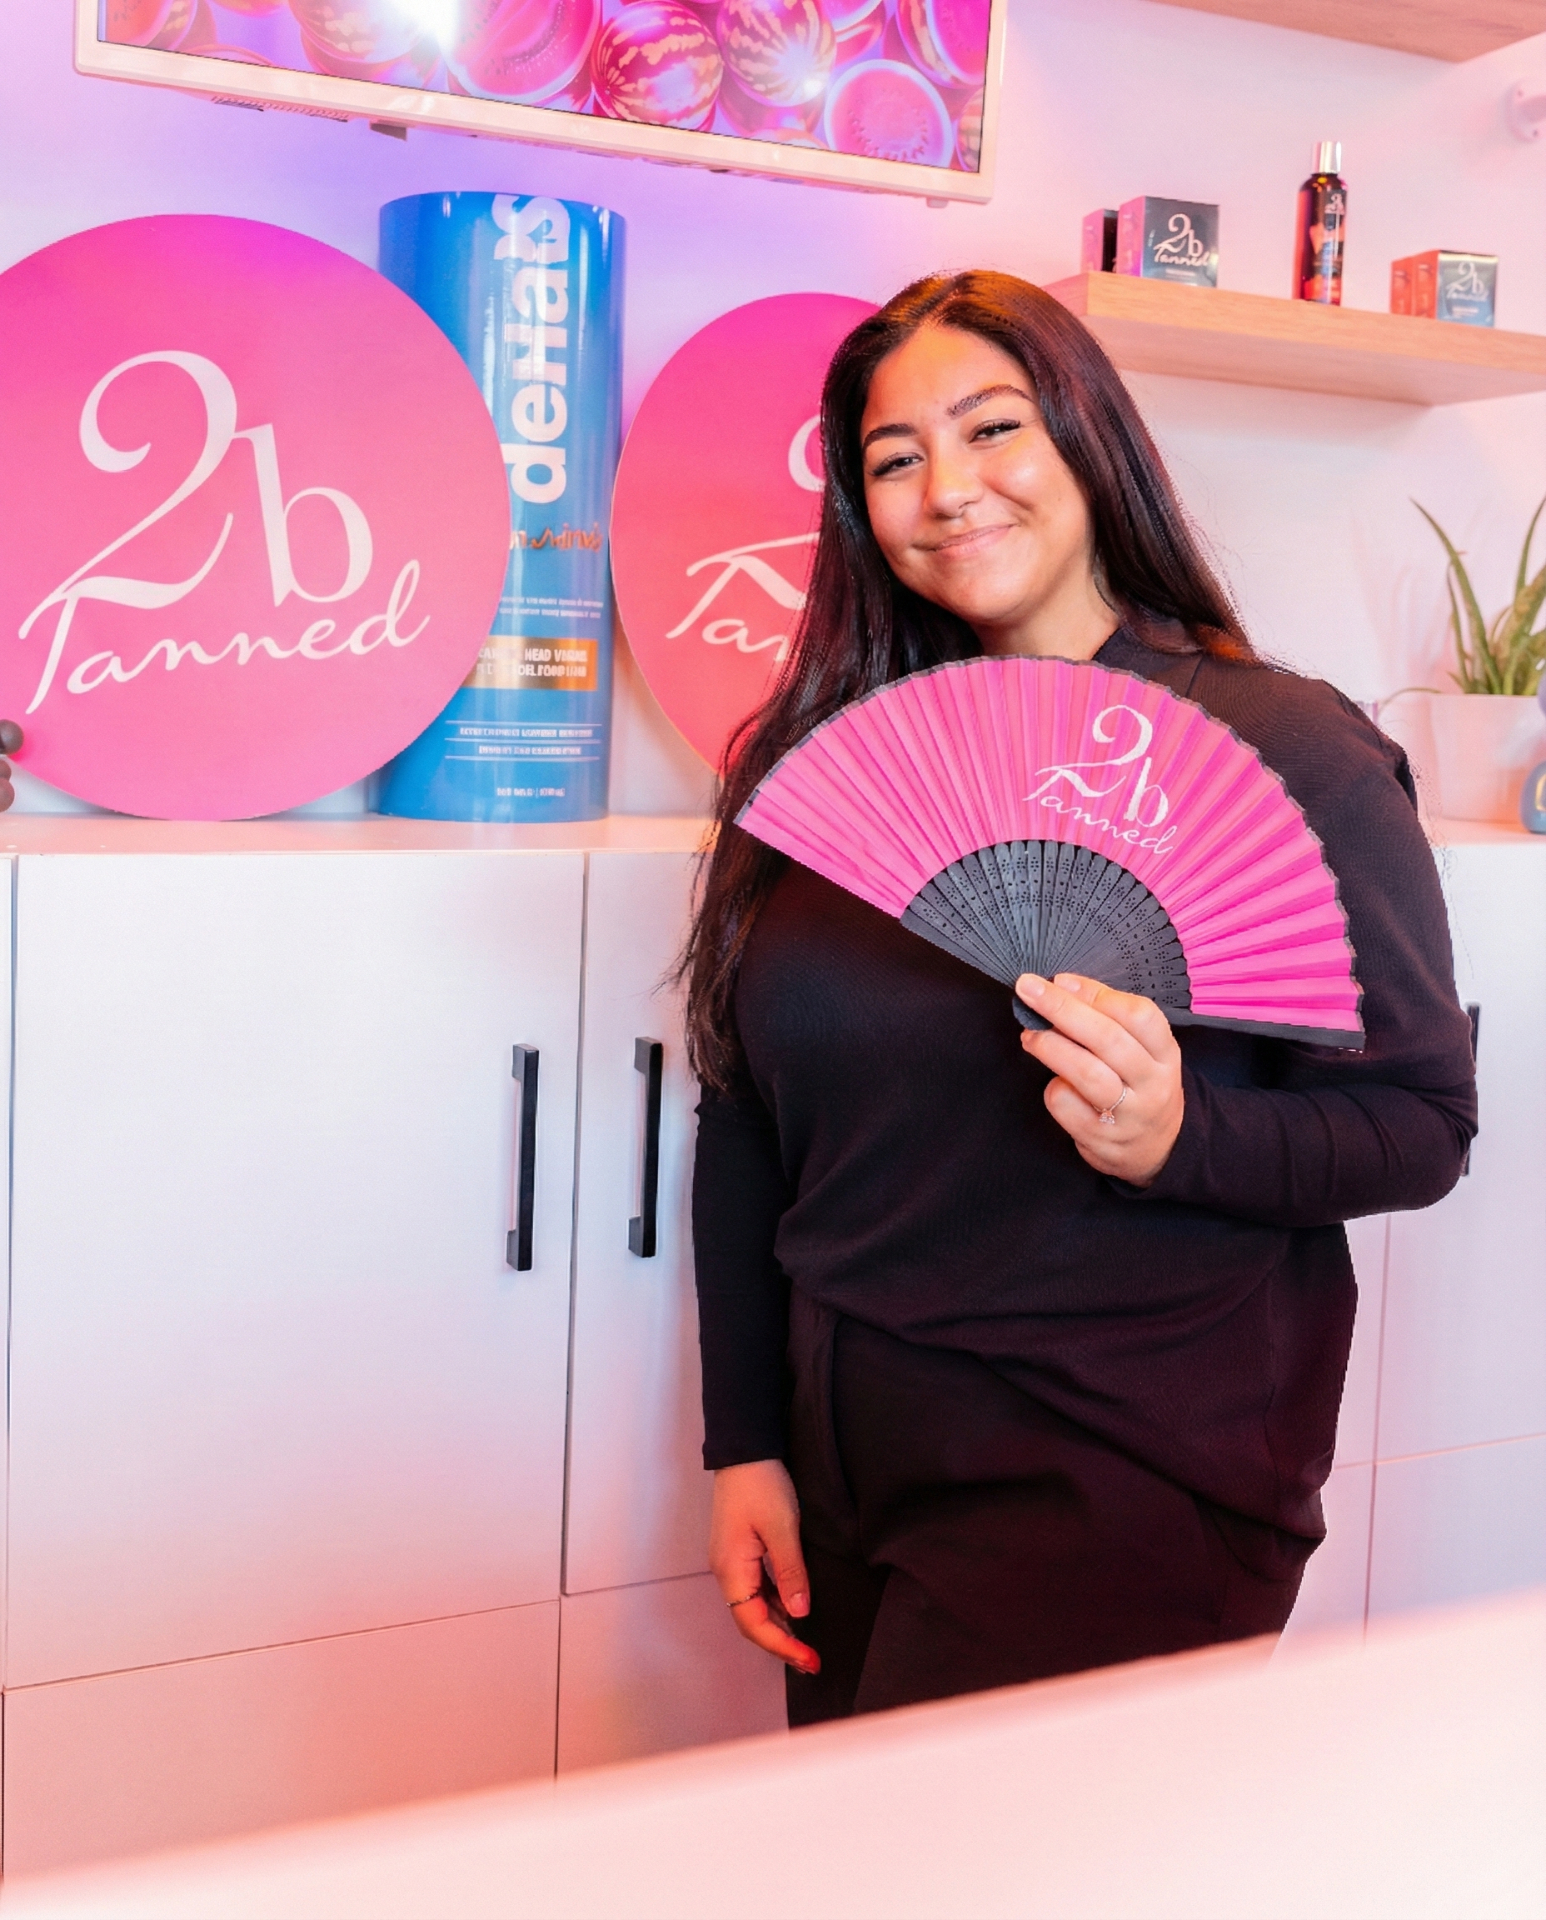
Jessie-Lee KingSalon Manager & Tanning Expert
Jessie-Lee is the Salon Manager at MEGATAN Studio Birmingham with over 8 years of experience in professional tanning. She specialises in helping clients find the perfect tanning routine, from selecting the right lotions to building safe, effective sunbed regimens. Jessie-Lee has trained with leading brands including Australian Gold, Devoted Creations, and Rapid Tan.